Installation Guide#
Aurora operates a two-way workflow between the tomato instrument automation software and the AiiDA platform accessed via its AiiDAlab graphical user interface. As such, to use Aurora, each of these components must be installed and configured. The sections below will walk you through setting each of these up.
Tomato#
Installing and setting up tomato is done on a separate Windows server connected to the BioLogic potantiostats. Instructions can be found in the tomato documentation, specifically the installation and quickstart sections.
AiiDAlab and Aurora#
Installing the AiiDAlab Aurora app involves the following steps:
Accessing the AiiDAlab platform
Installing the Aurora app
Configuring the environment
Tip
A live installation guide is available on the BIG-MAP App Store following the local Docker-based method.
Access AiiDAlab#
There are several means of accessing the platform. Instructions best suited for your scenario can be found on the Access AIiDAlab section of AiiDAlab’s documentation. Once set up, you may access AiiDAlab via a browser.
Install Aurora#
AiiDAlab comes with its own app store for easy installation.

General instructions for installing AiiDAlab apps can be found on the App Store section of AiiDAlab’s documentation. Once AiiDAlab is accessed and launched on a browser, you may search for Aurora in the app store and proceed with installation.
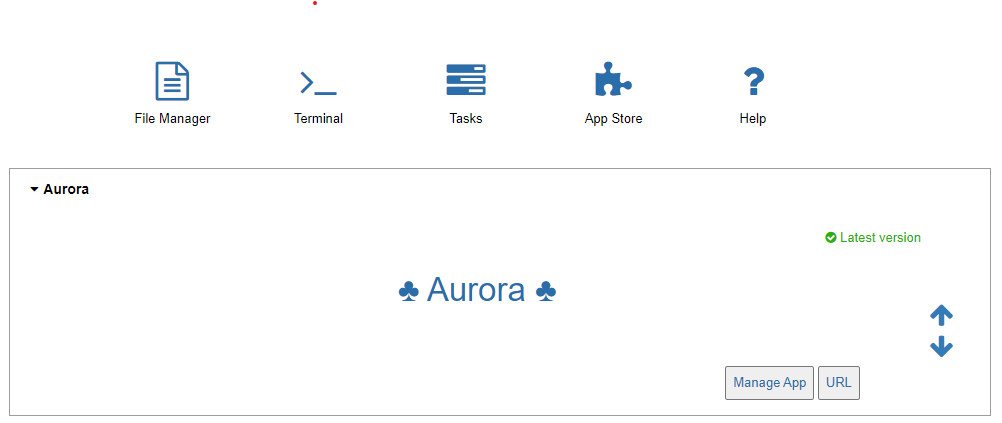
Once the app is installed, it will appear on the home page.
Configure the environment#
Lastly, we need to configure a few things in the environment to support the app.
Passwordless SSH Access#
AiiDA requires passwordless ssh access to the tomato server in order to periodically poll its jobs. This requires you generate an ssh key pair locally and deploy the public key onto the remote server. To set this up, open a terminal from the AiiDAlab home page.

Run the following code in terminal:
cd
ssh-keygen
cat ~/.ssh/id_rsa.pub
This will generate the key pair and output the contents of the public key in the terminal. Copy the key hash output (ssh-rsa ... jovyan@<container-id>) and paste it in C:\Users\USERNAME\.ssh\authorized_keys, or, if you are admin on the server, in C:\ProgramData\ssh\administrator_authorized_keys.
To test that the access has been properly set up, run the following in terminal:
ssh -i ~/.ssh/id_rsa <username-on-remote-server>@<server-ip-address>
If passwordless access was correctly set up, it will not prompt you for your credentials.
AiiDA Database Setup#
Lastly, we need to setup the AiiDA database with reference nodes to the tomato server and the path to the ketchup executable (tomato’s command-line tool) on the server. These will be used by AiiDA during cycling experiments.
Important
In the following code, replace label and hostname with corresponding values for your case. hostname should match the network name associated with the server. label can be any name you wish to associate with the computer node. The label is used in setting up the code node.
Tip
For more advanced (and interested) users, instead of running the provided code, you can run verdi computer setup, verdi computer configure ssh2win, and verdi code create. Each command will walk you through its respective steps and provide additional information on request.
Computer#
The computer node is a reference to the remote machine (the tomato server). Run the following code to set it up.
verdi computer setup \
--label "<computer-label>" \
--hostname "<hostname>" \
--description "Tomato server" \
--transport "ssh2win" \
--scheduler "tomato" \
--work-dir "/tomato/scratch" \
--mpiprocs-per-machine 1 \
--shebang "#!/usr/local/bin/pwsh" \
--non-interactive

verdi computer configure ssh2win \
--username "<username-on-remote-server>" \
--key-filename "/home/jovyan/.ssh/id_rsa" \
--gss-host "<hostname>" \
--gss-auth false \
--gss-deleg_creds false \
--gss-kex false \
--key-policy "AutoAddPolicy" \
--load-system-host-keys \
--use-login-shell \
--look-for-keys \
--allow-agent \
--compress \
--safe-interval 30.0 \
--timeout 60 \
--non-interactive \
"<computer-label>"
Code#
The code node is a reference to the ketchup executable on the remote machine. Run the following code to set it up.
verdi code create core.code.installed \
--label "ketchup" \
--computer "<computer-label>" \
--description "ketchup submit" \
--default-calc-job-plugin "aurora.cycler" \
--filepath-executable "<path-to-ketchup-executable-on-remote-server>" \
--non-interactive
Tip
You can label the code as you wish. The label will appear in the Select code dropdown menu in the submission section of the the experiment builder.
This concludes the installation process. Aurora is now ready for use.